
Skip to main content
What can we help you with?
Installing The Hyper PWA For The First Time
Hyper PWA is a powerful WordPress plugin that helps you transform your website into a fast, reliable, and installable Progressive Web App (PWA). With features like offline support, app installation and performance enhancements, Hyper PWA delivers an app-like experience to your visitors. This guide will walk you through the process of installing, activating, and configuring the plugin for the first time.
Prerequisites
Before installing the plugin, ensure you have:
- A WordPress website with administrator access
- An active internet connection
Installation Steps
1. Downloading the Plugin
You can install the Hyper PWA Plugin in two ways:
Option 1: Installing from the WordPress Plugin Directory
- Log in to your WordPress admin dashboard.
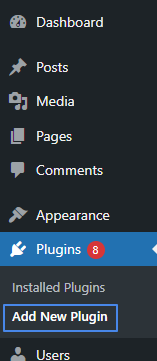
- In the search bar, type Hyper PWA or Hyper PWA – Bringing Modern Progressive Web App Experiences
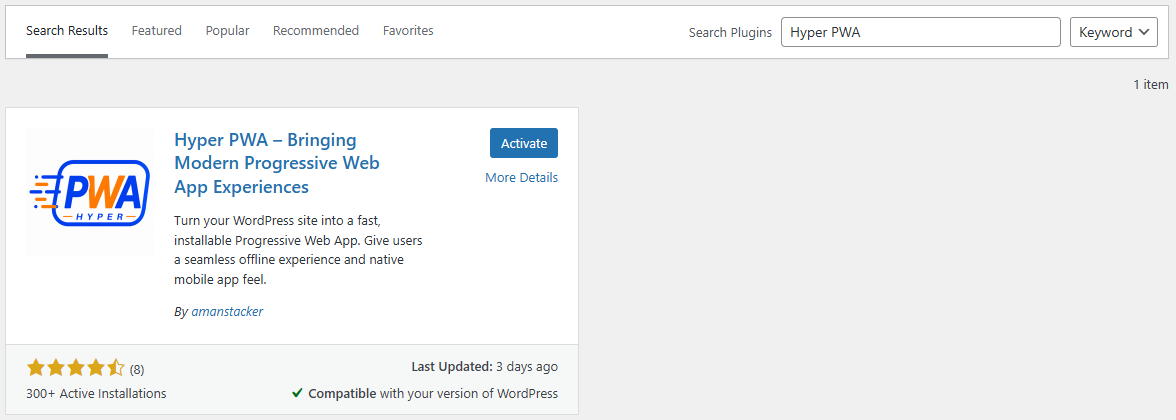
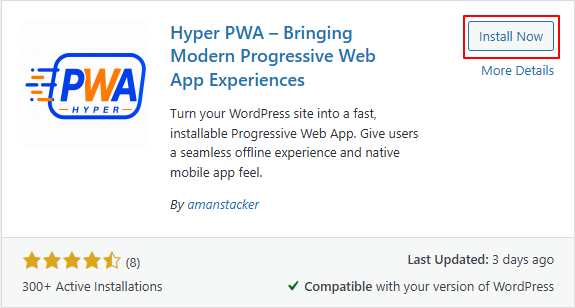
- Locate the plugin in the search results and click Install Now.
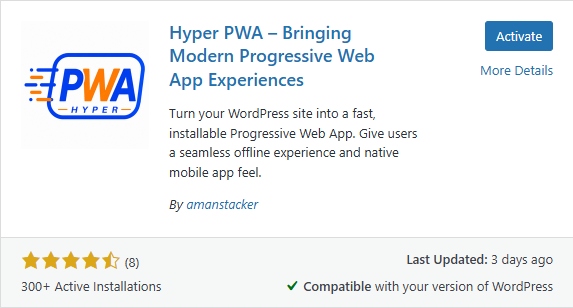
- Once the installation is complete, click Activate.
Option 2: Uploading the Plugin Manually
- Download the Hyper PWA Plugin ZIP file from the official site or wp.org.
- Log in to your WordPress admin dashboard.
- Navigate to Plugins > Add New > Upload Plugin.
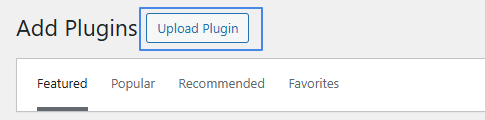
- Click Choose File, select the downloaded ZIP file, and click Install Now.
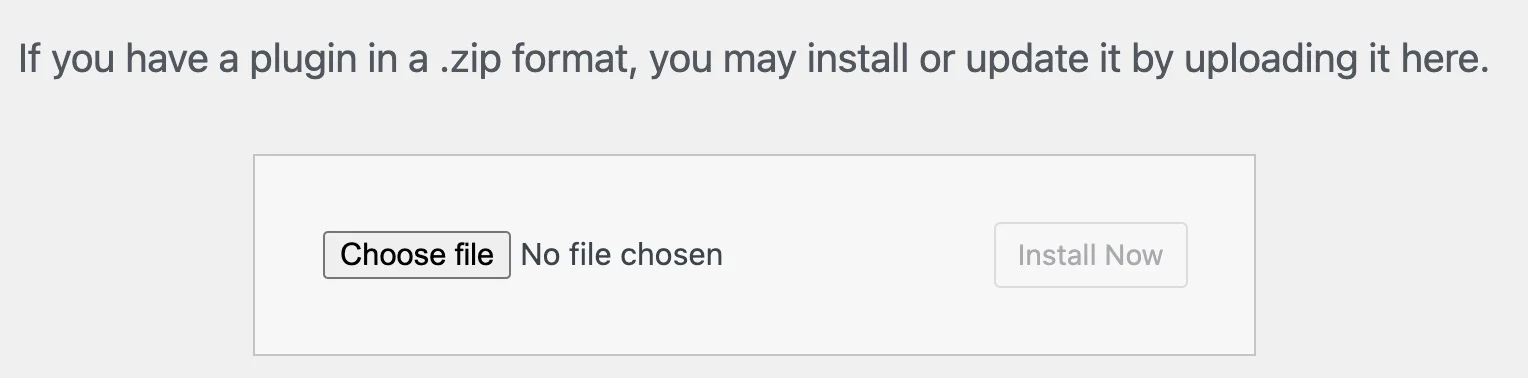
- After installation, click Activate Plugin.
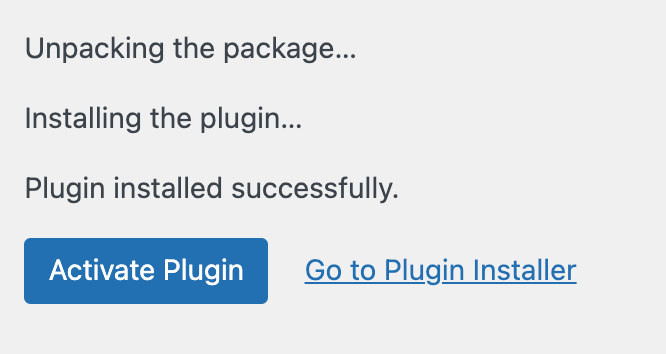
Congratulations on installing the Hyper PWA plugin!
Post-Installation Setup
Once activated, configure the plugin by following these steps:
- Navigate to WordPress Dashboard Menu and select Hyper PWA
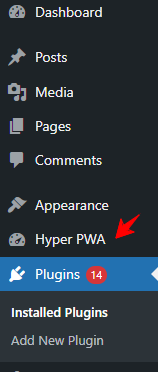
- Configure the settings as per your requirements
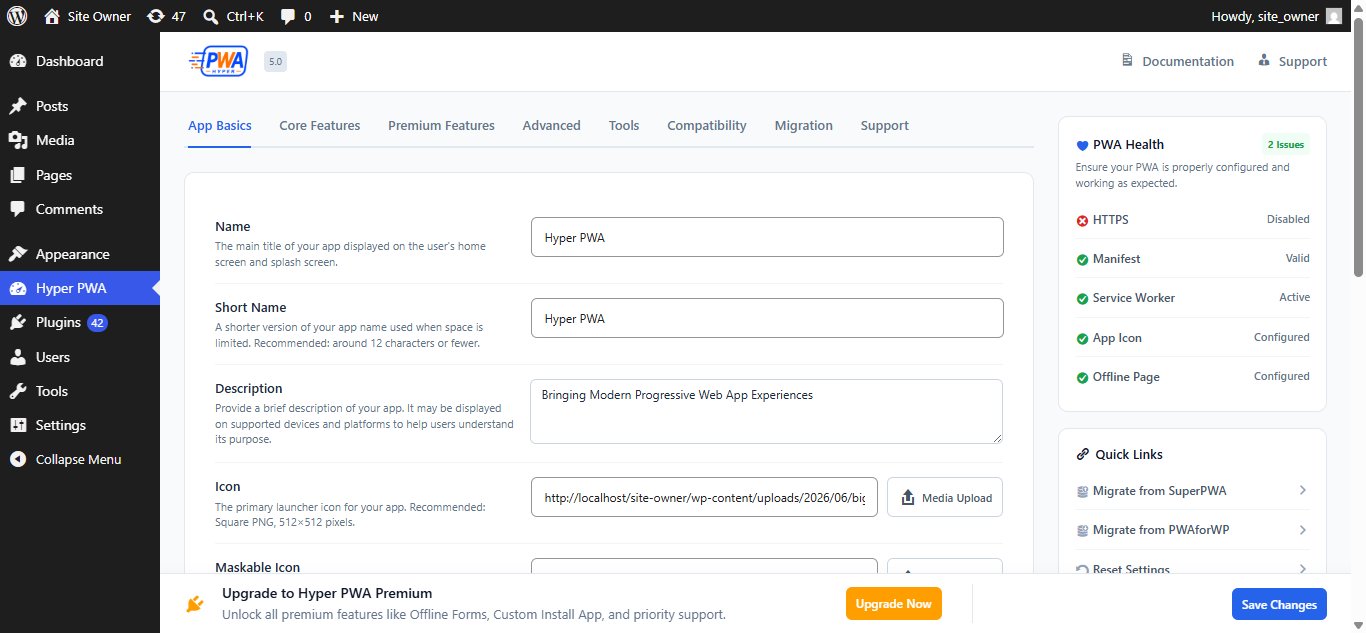
- Click Save Changes.
Troubleshooting
If you encounter issues:
- Ensure your WordPress version is up to date.
- Deactivate conflicting plugins.
- Check the Hyper PWA official Knowledge Base or support forum for solutions.